Updating the status and keeping the customer informed
Change a job's status with one tap; the customer follows it on the tracking page and, once the device is ready, sees where to come and what to pay.
Most "Is my device ready?" calls stop once customers can see their job for themselves. As you update the status, the tracking page updates too.
Changing the status
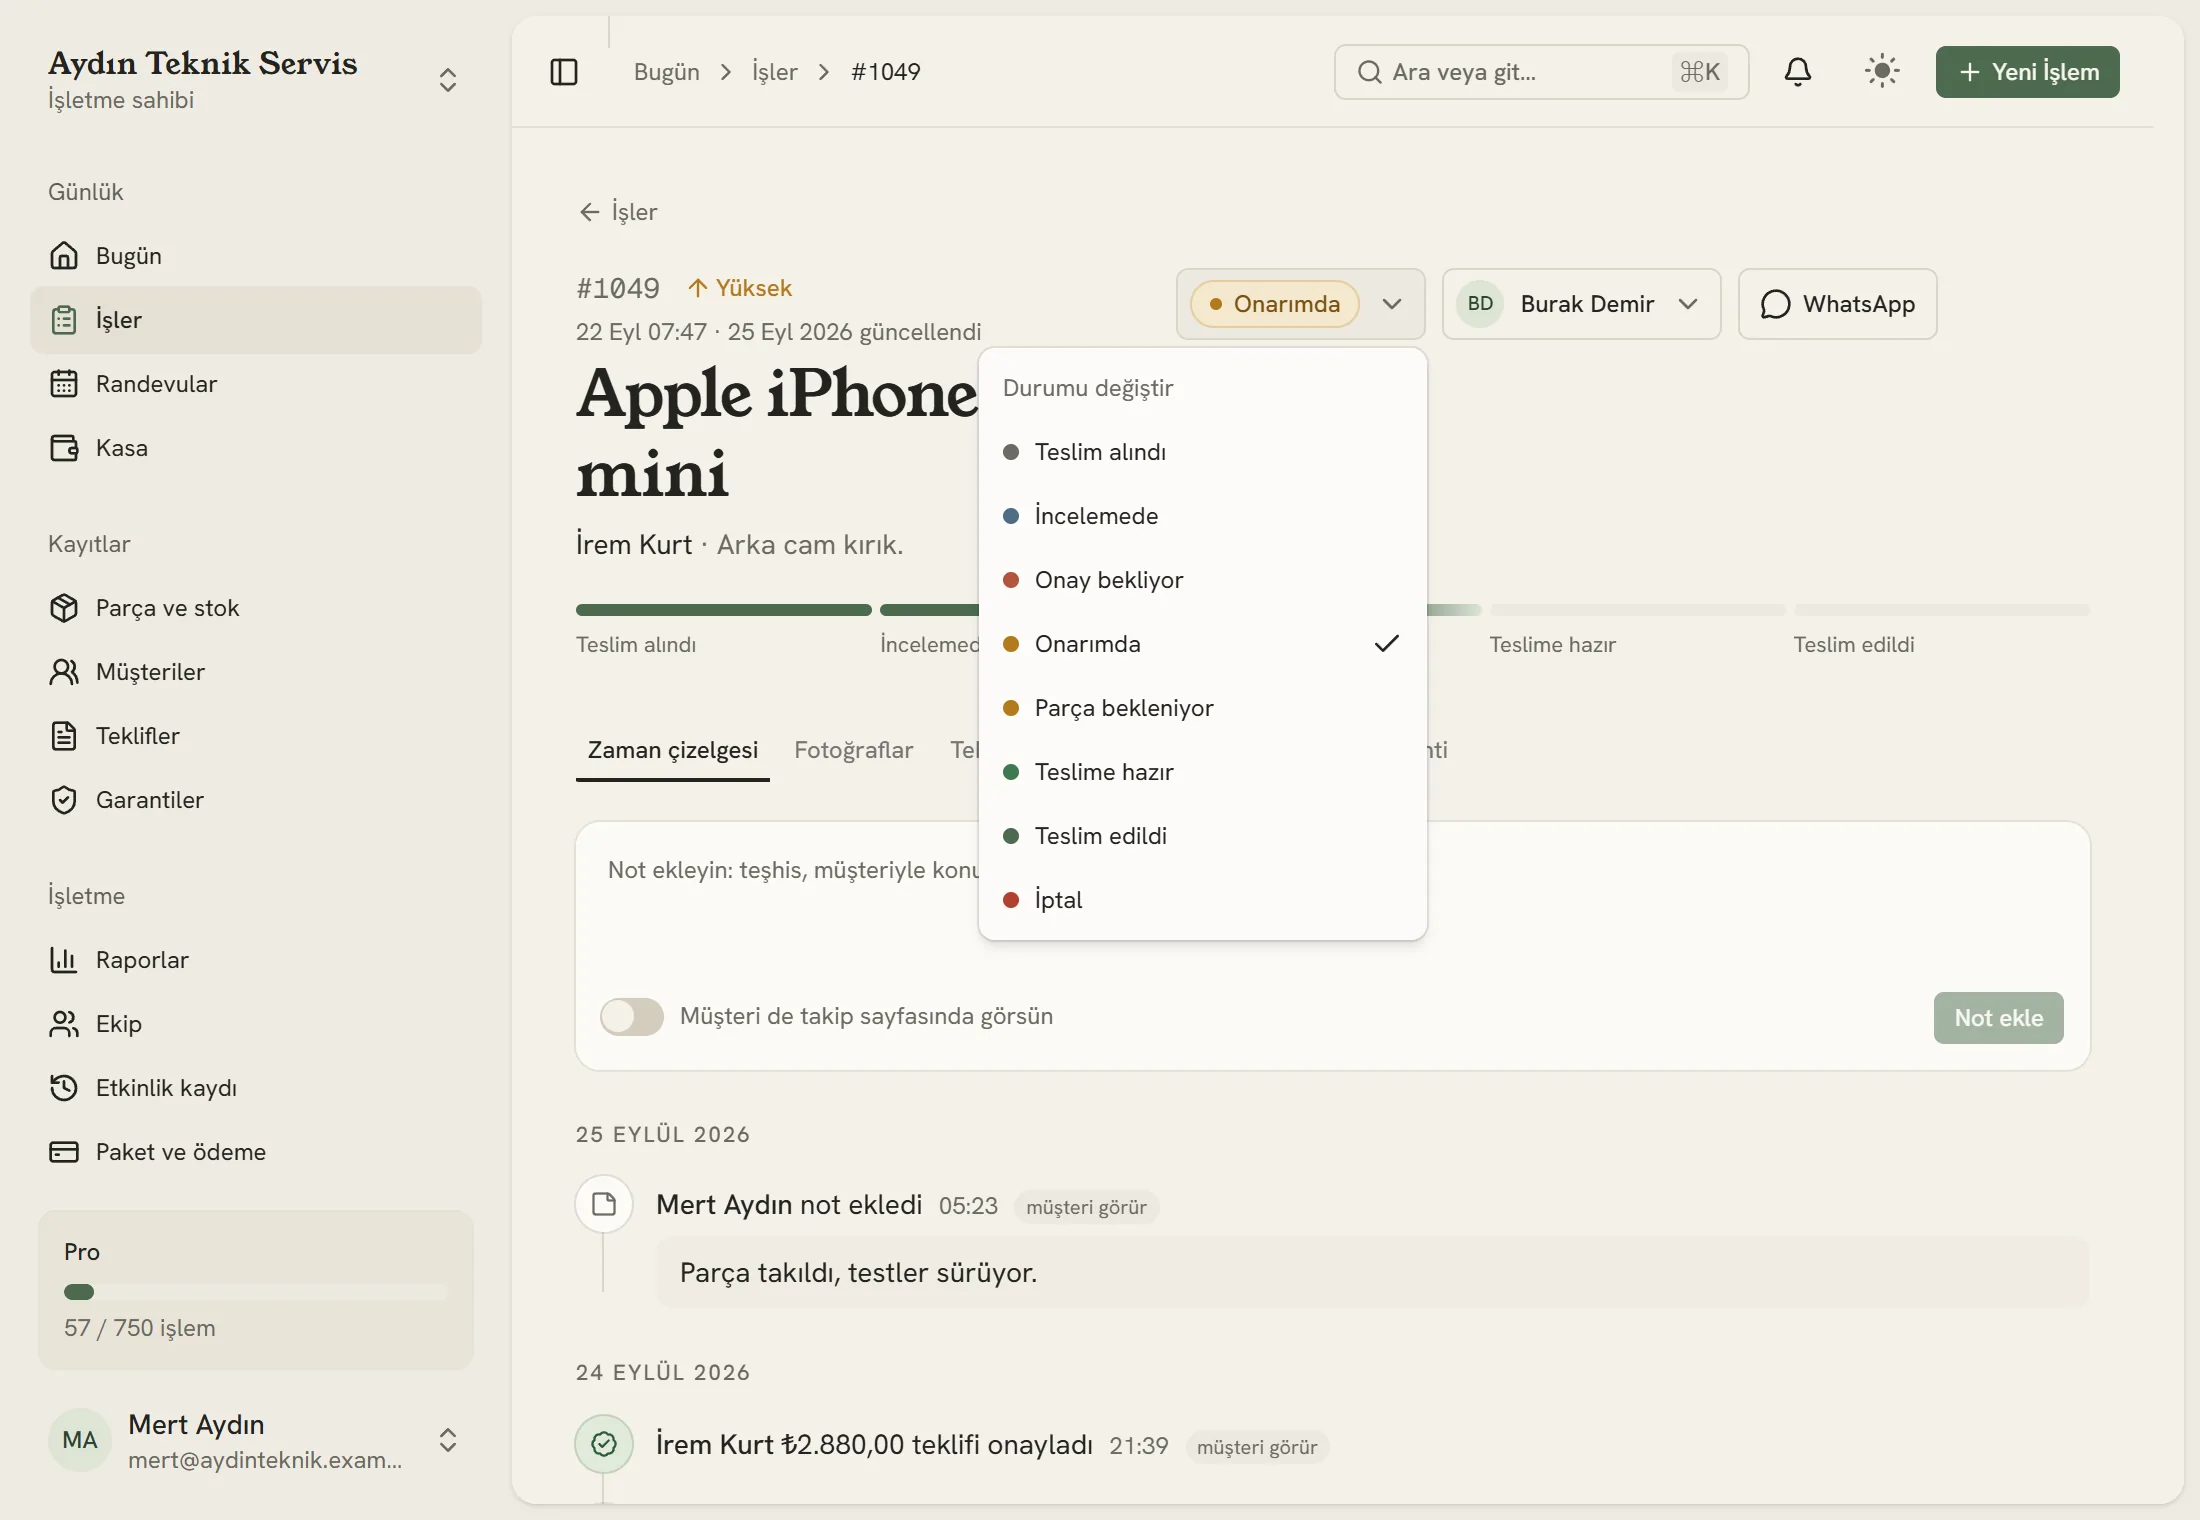
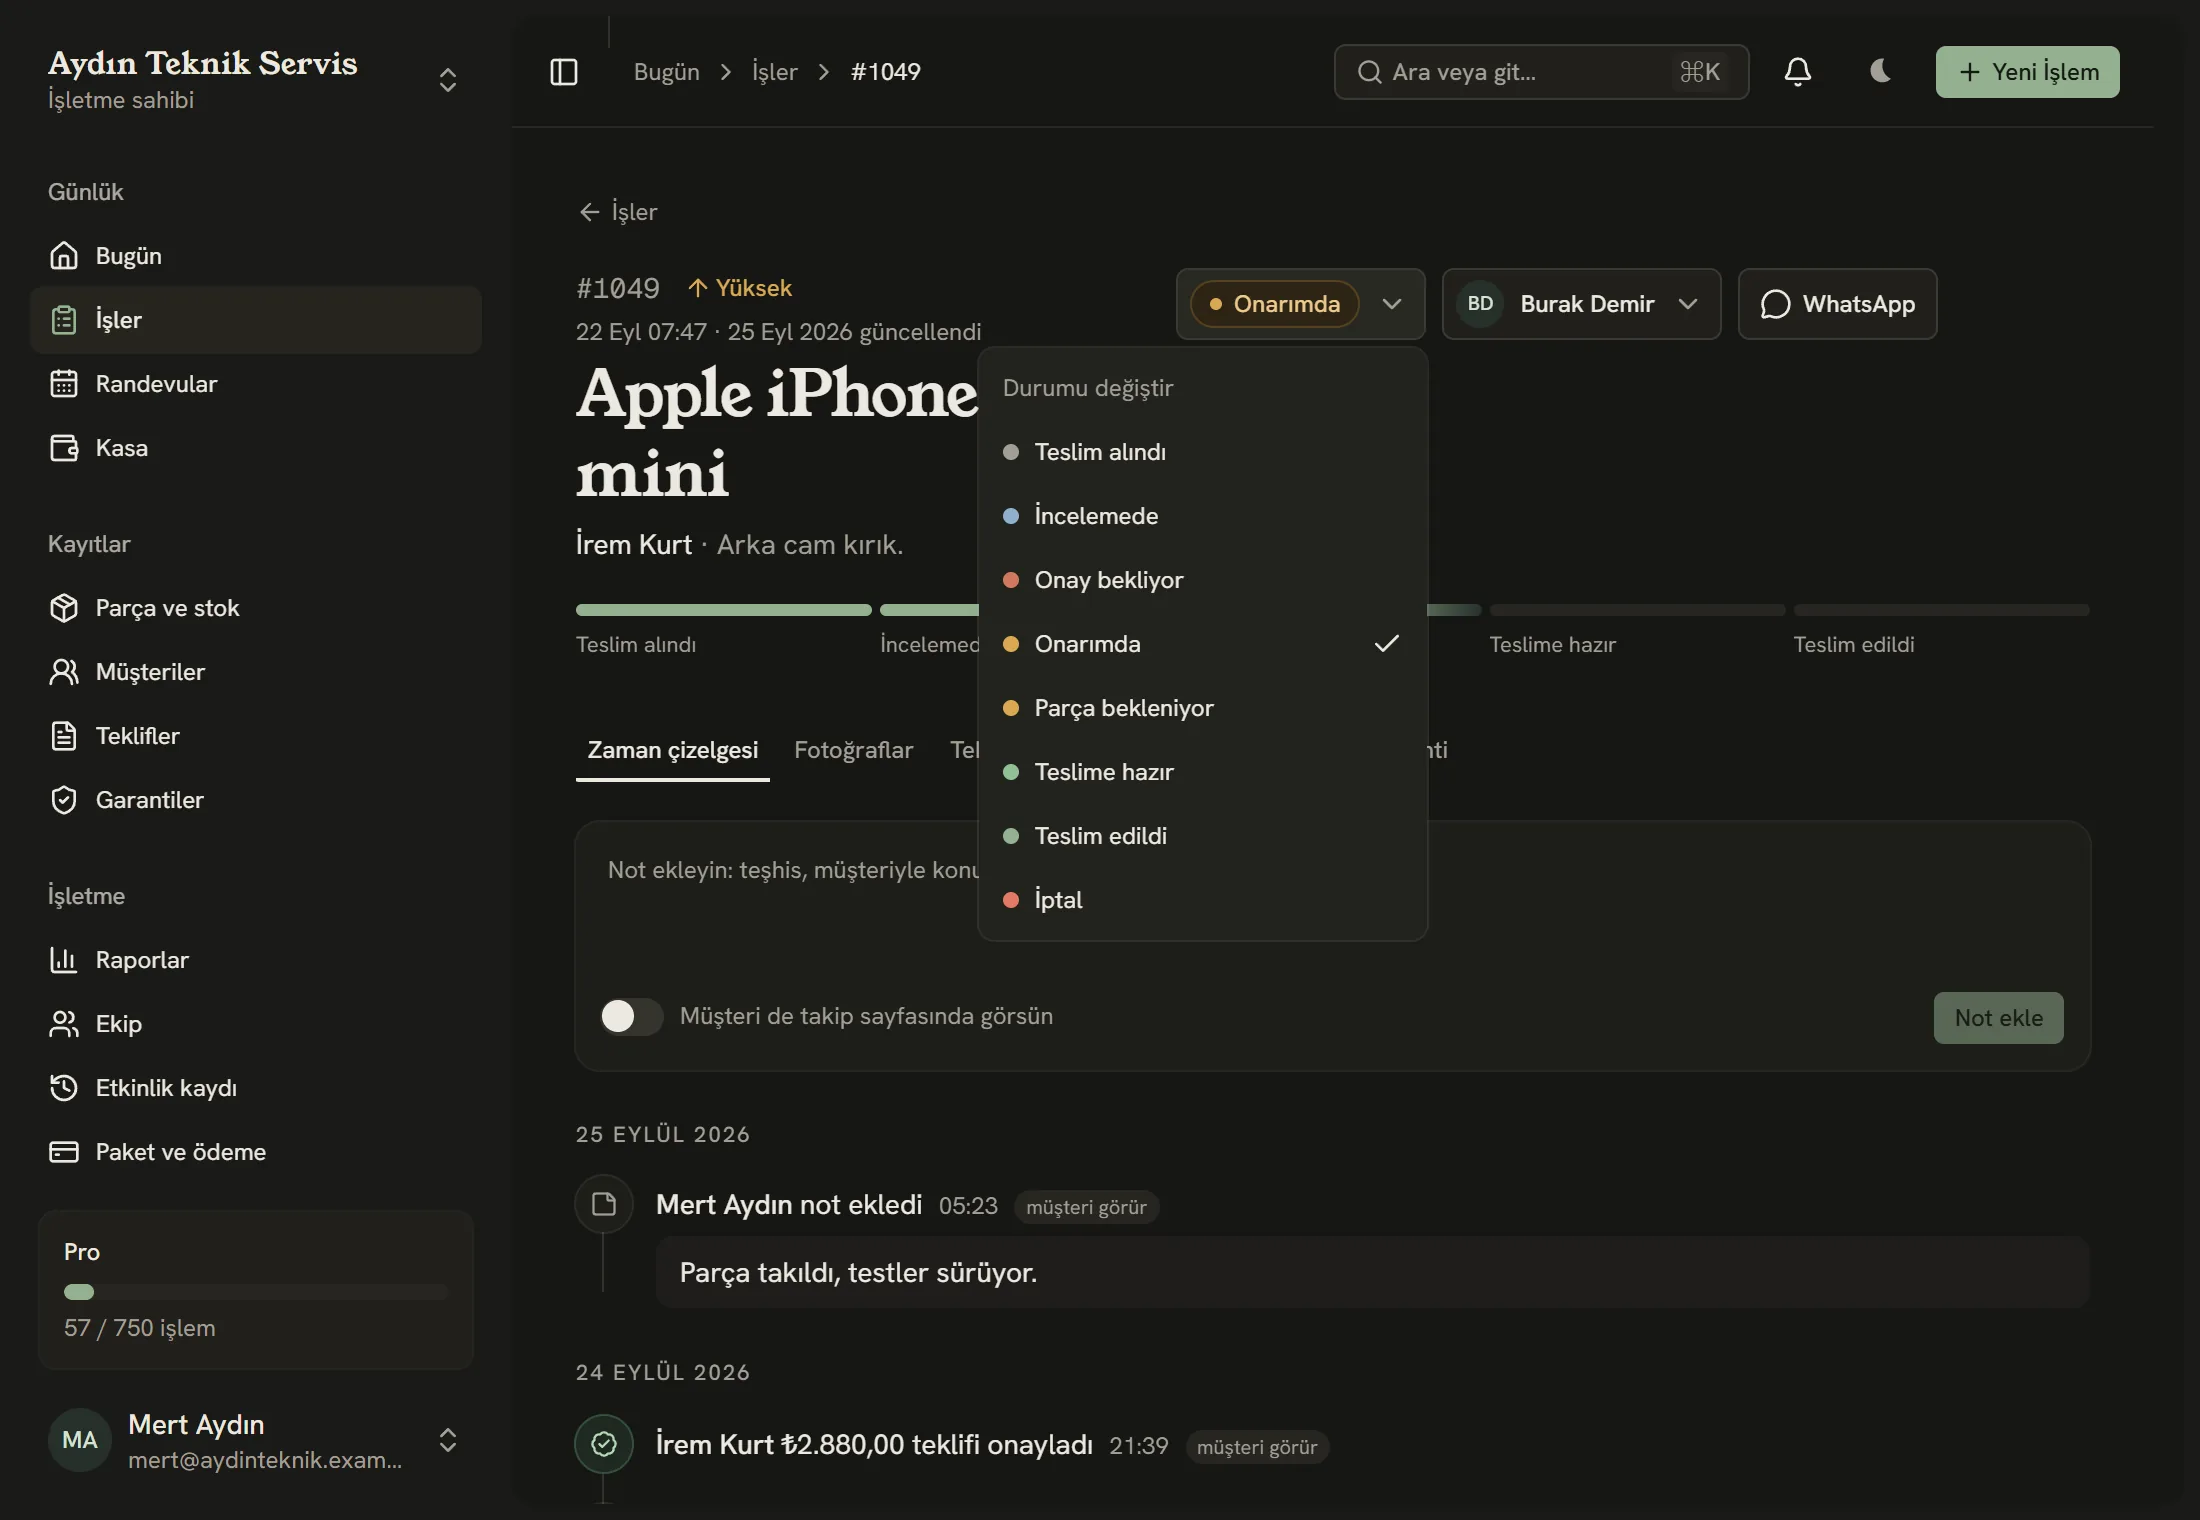
- The job's current status. Click it and pick a new one.
- Statuses. You can change their names and order under Settings → Workflow.
- The person working on the job.
- A ready-made WhatsApp message to the customer. You decide the text.
The WhatsApp button opens your own WhatsApp with a message already addressed to the customer's number; you change the texts on the Ready-made WhatsApp messages page. When the job becomes "Ready for pickup", an automatic notification also goes to the customer: Automatic notifications and SMS fallback.
If you want the customer to see a note you write on the timeline too, turn on the Customer can see this on the tracking page switch below the note box. It's ideal for notes like "Part ordered, arriving Thursday".
When the device is ready
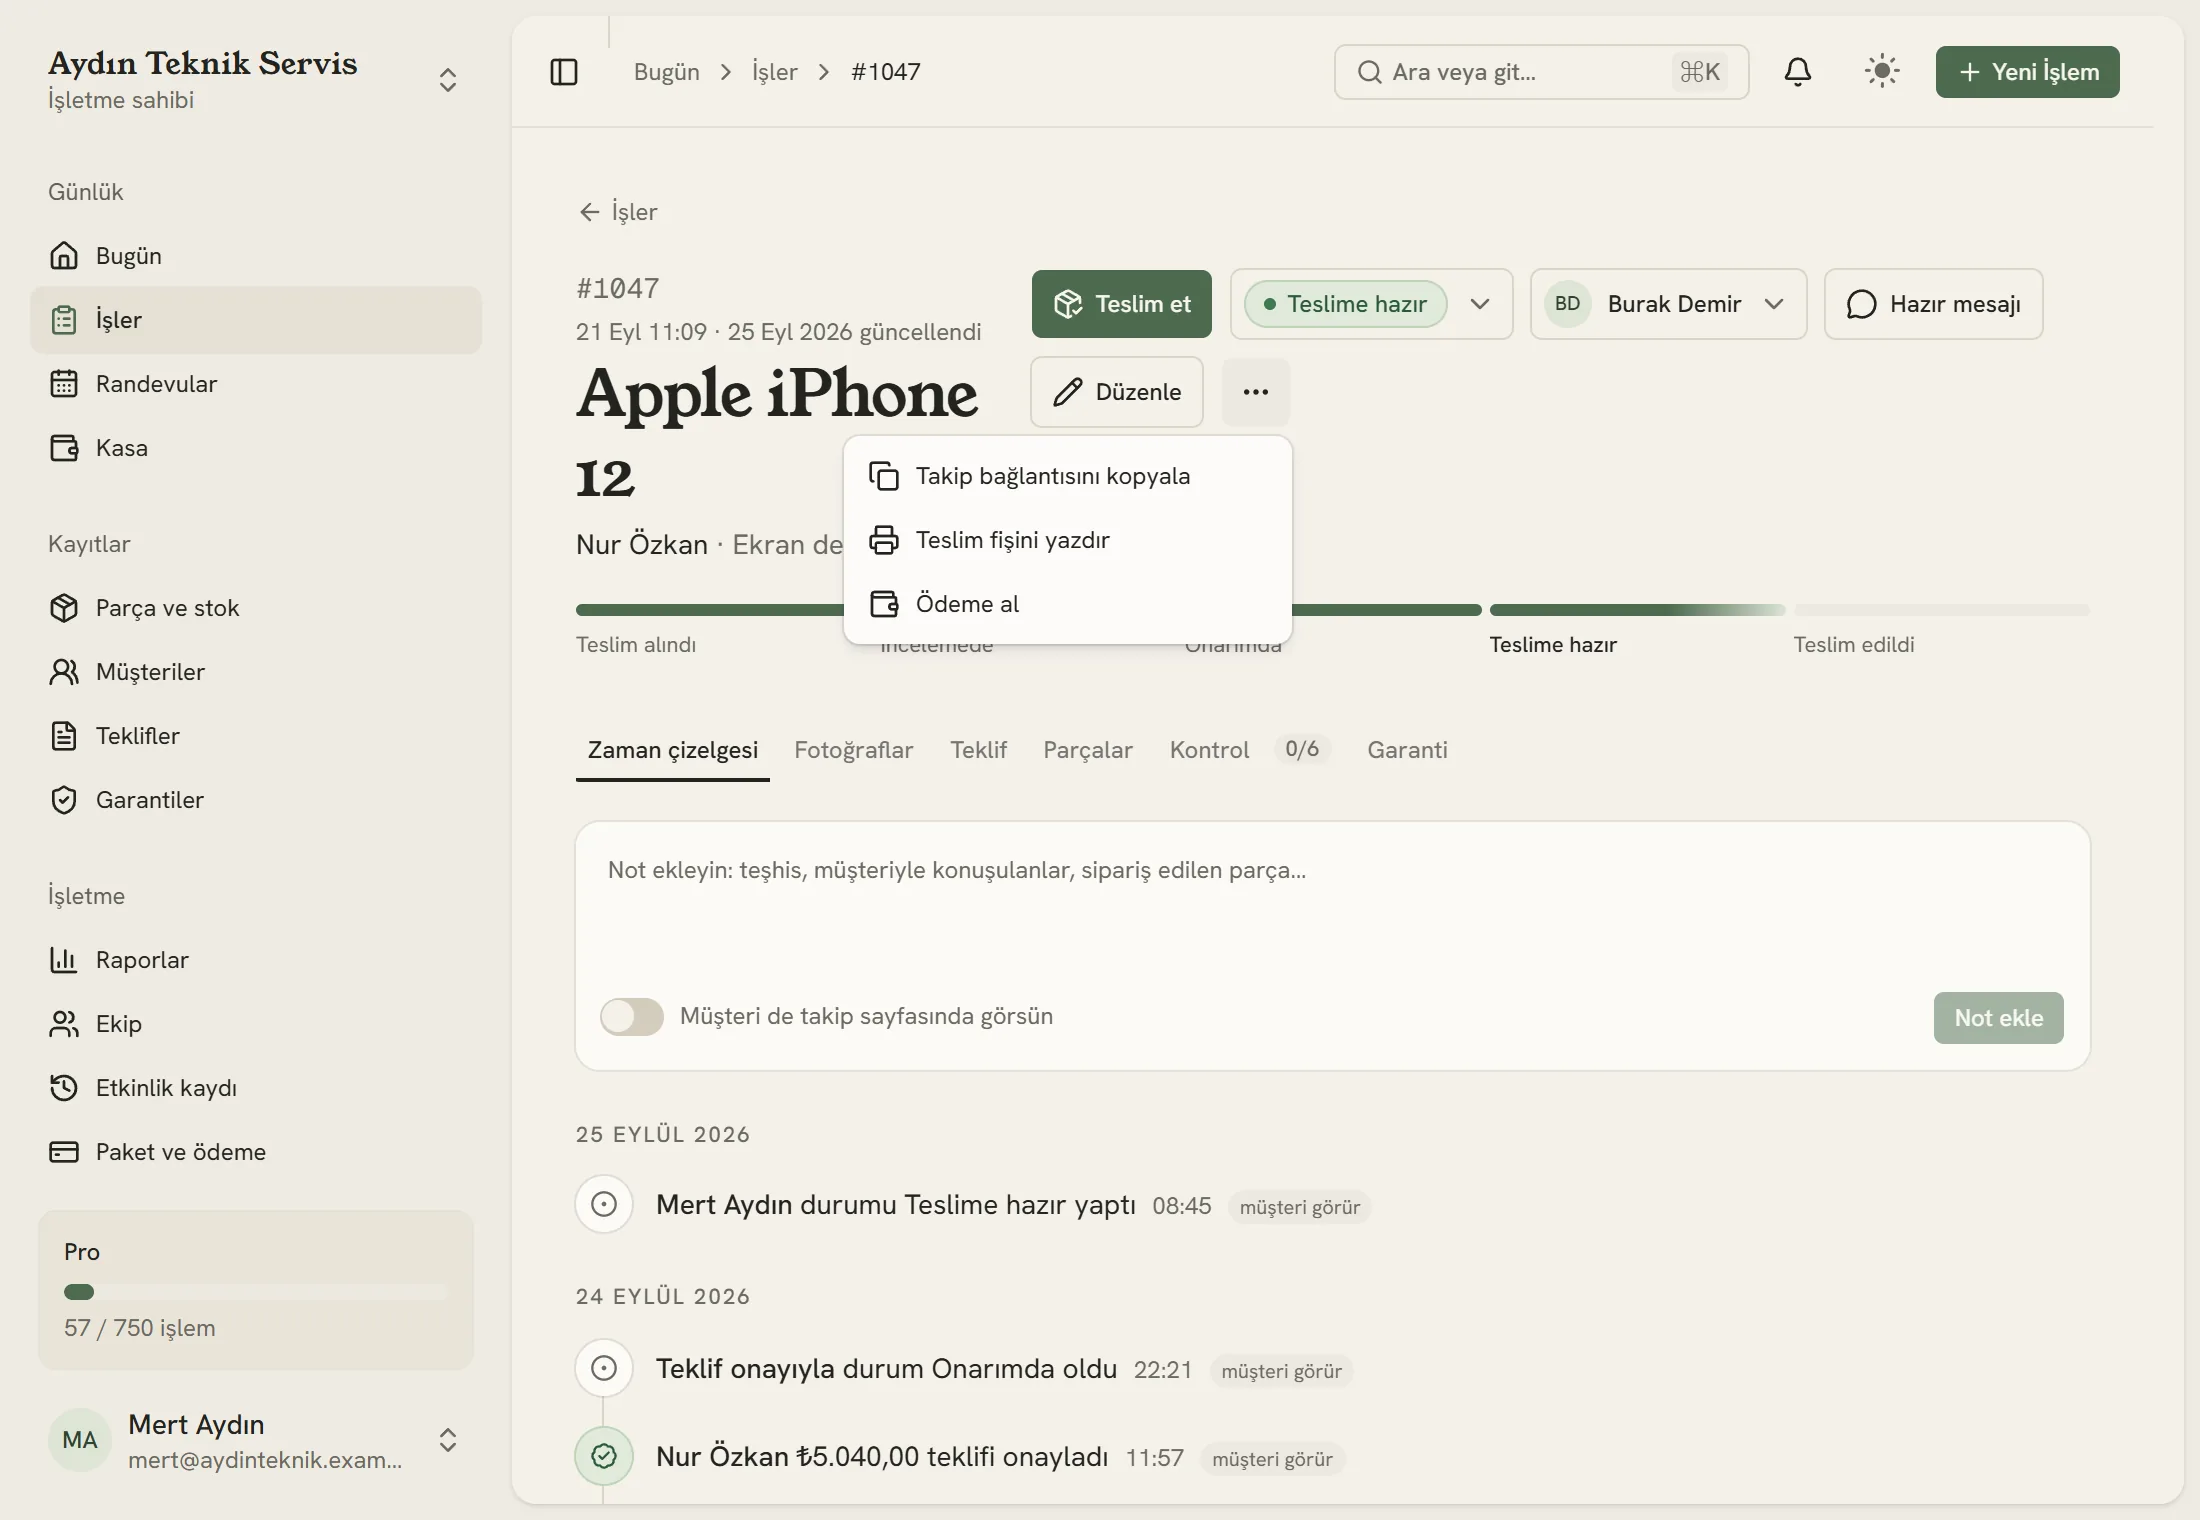
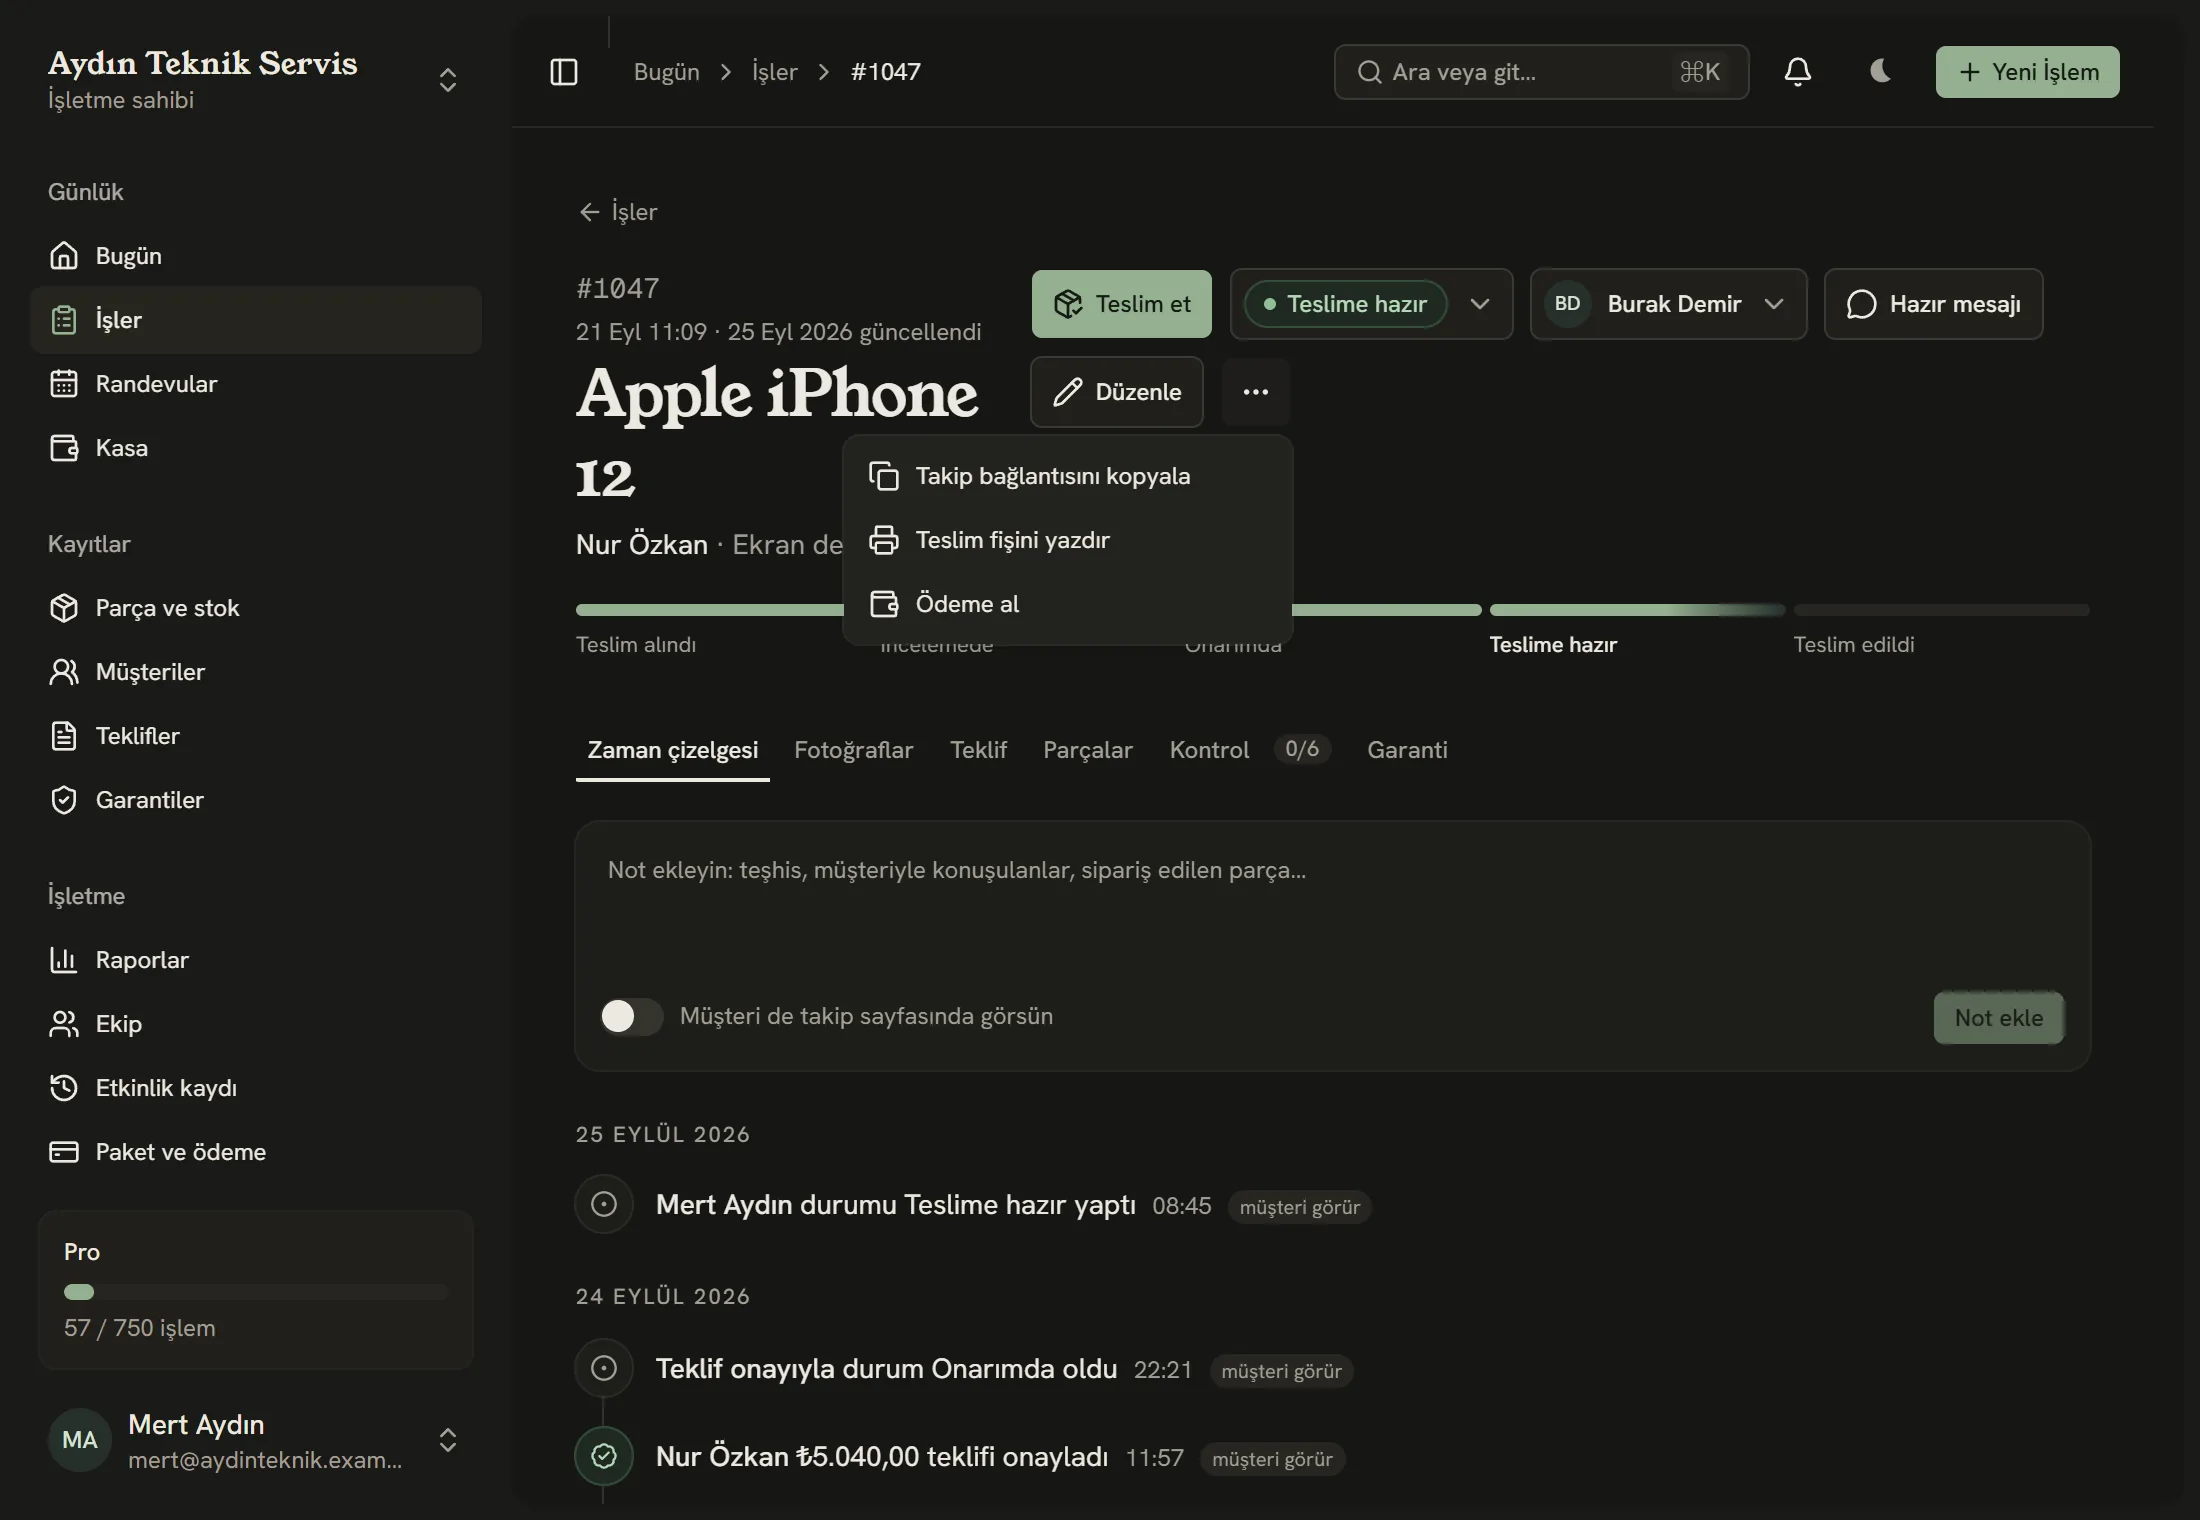
- When the status is "Ready for pickup", the WhatsApp button turns into "Ready message".
- Copy the tracking link or reprint the intake receipt.
The Customer tracking card at the bottom right of the page holds the tracking page's QR code; the customer can scan it with their phone at the counter.
The page the customer sees
The tracking page needs no app or account; anyone who opens the link or the QR code on the receipt can see it. The page shows the job's status, its history and the notes shared with the customer.
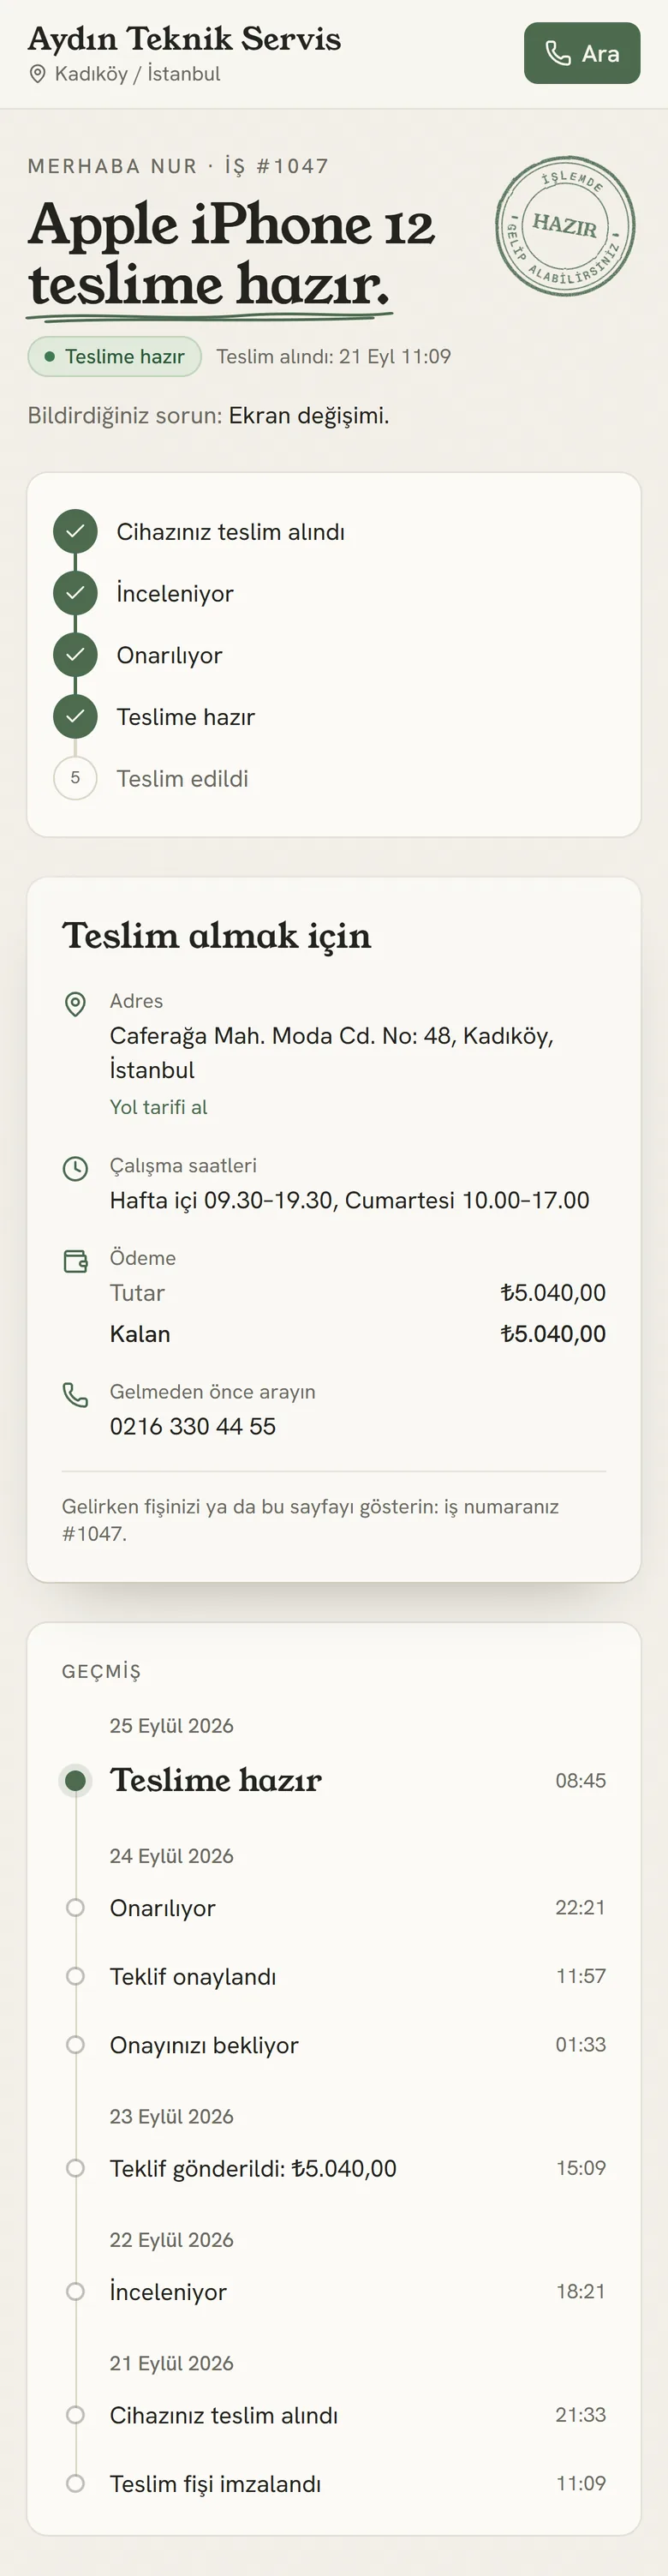
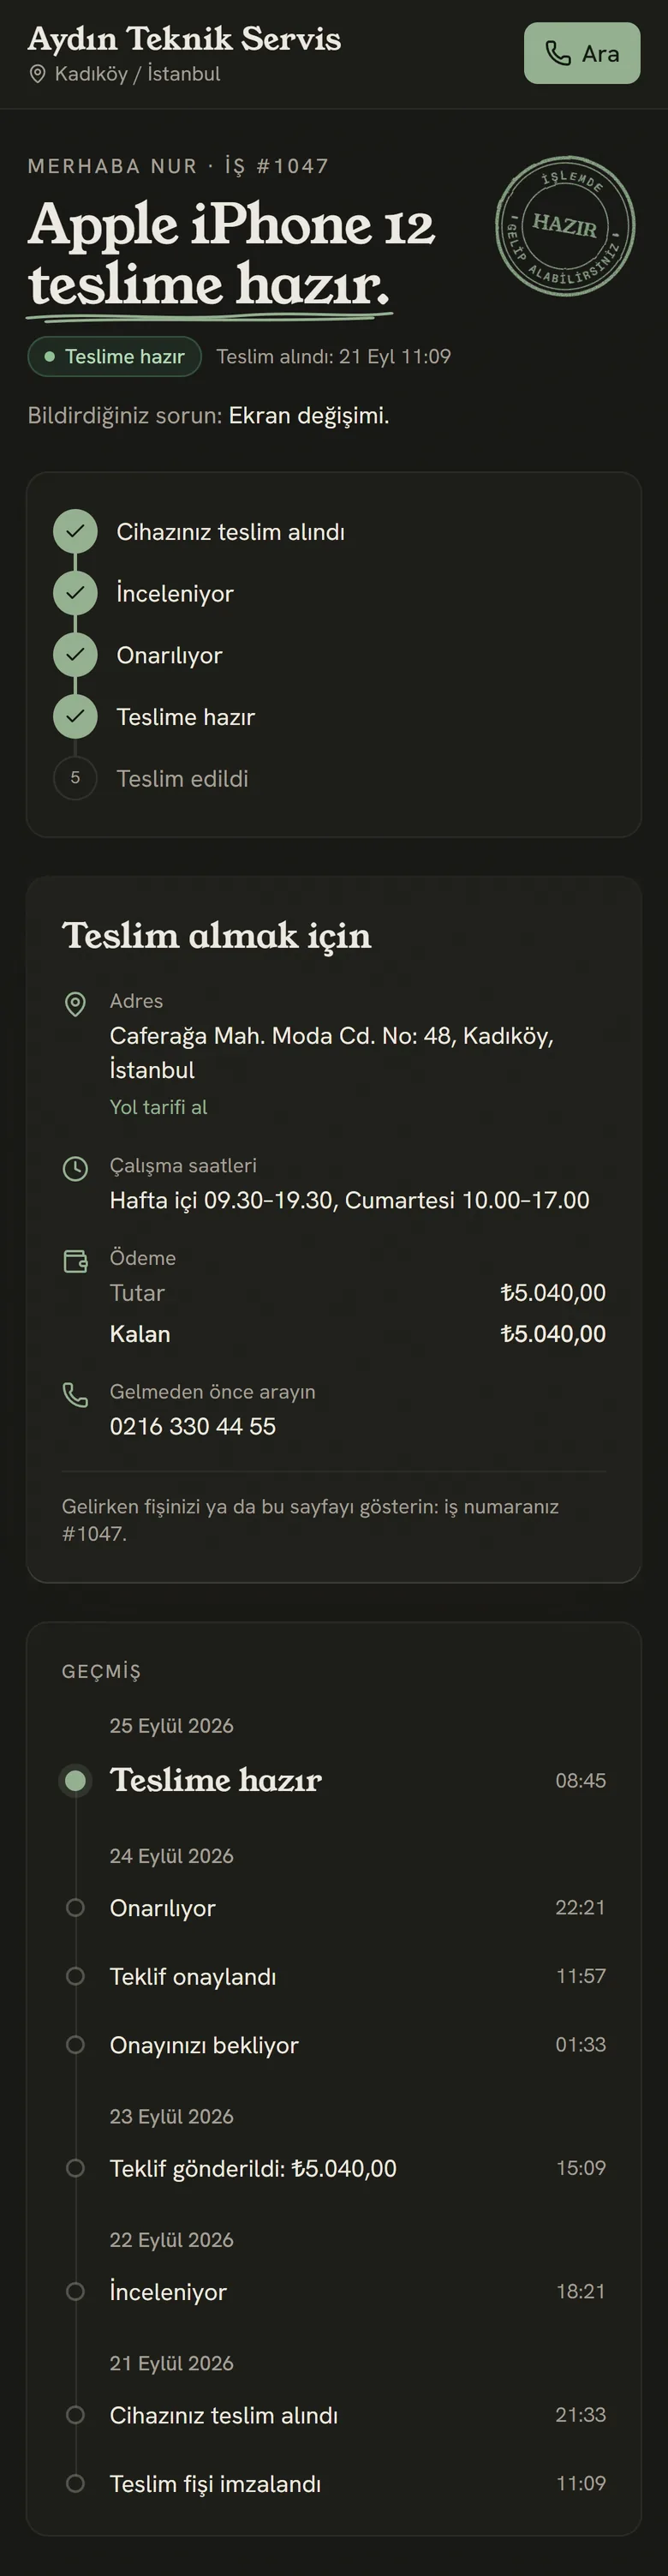
- The job's steps. Completed ones are ticked.
- Once the device is ready: address and directions, opening hours, amount and balance due.
- Calls you with one tap.
- The job's history: day by day, newest at the top.
The amount is the total of the quote the customer approved; if there's no quote, it shows the estimated price you entered at check-in. If you've taken a deposit or a payment, the paid and remaining amounts show too. For a job marked as free, this line doesn't appear. Enter your opening hours under Settings → Business details; if you leave them blank, that line isn't shown.
Handing over
When the device leaves the counter, press the Hand over button. When the job is "Ready for pickup", the button sits first in the header; for other statuses it's in the ⋯ menu. Choosing Handed over from the status menu opens the same window.
The window has these, in order:
- Who's picking it up? By default it's the customer. If someone else is collecting the device, enter their name and relationship ("spouse", "colleague").
- Payment. The job's amount, what's been paid so far (including the deposit) and the balance due are shown at the top. The amount received starts at the balance due; choose cash, card, bank transfer / EFT or other. If the customer isn't paying right now, choose No payment taken, and the balance stays on the job as credit. If you're not charging, turn on Free / covered by warranty. Roles that can take payments see this section.
- Signature. The person collecting the device signs on the screen. The signature is stored together with the text that was signed; just like the signature on the intake receipt, it can't be changed later.
- Issue a warranty certificate. If you turn it on, the period comes from the default under Settings → Business details; the certificate is issued with the handover and sent to the customer. Roles that can issue warranty certificates see this option.
A summary sits at the bottom. Hand over saves everything at once: the job leaves the open jobs, counts as "handed over" in reports, and the payment received is added to the day's Cash desk and to the Quotes and payments chart in Reports. For collecting the rest later, refunds and credit: Payments, credit and the cash desk.
After handover, the job page shows together who collected it and when, the payment, the signature and the warranty. The Handover record button opens the signed record for A4 or a receipt printer; the logo, brand color, QR and signature fields follow your Settings → Printing choices.
On the customer's tracking page, the date and the name of the person who collected it appear next to "Handed over". Like the customer's name, it's shortened to the first letter of the surname. If a balance remains, the amount, the paid and the remaining amounts show too; who paid what, when and how is not shown.
If you need to correct something, reopen the window with the refresh button on the handover card; the new record replaces the old one. If you handed it over by mistake, undo the status: the handover record stays in the history but no longer counts.
More about warranties: Issuing a warranty certificate.
Stuck somewhere? Write to us from Support in the dashboard's left menu; we'll see which screen you're on.