Connecting WhatsApp
Connect your own WhatsApp Business number, so device-ready, quote, payment and appointment notifications reach customers on WhatsApp first.
Once connected, automatic notifications go to your customers from your WhatsApp Business number, under your business name. You pay Meta for the messages; İşlemde doesn't charge for this.
Before you start
- You need a business account at Meta (Facebook) and a verified WhatsApp Business number added to that account.
- Meta charges message fees to the payment method on your business account. Meta sets the prices.
- If the dashboard says WhatsApp connection isn't available yet, write to us from Support and we'll turn it on for your account and let you know.
We recommend connecting both WhatsApp and SMS: a customer WhatsApp can't reach gets the same message by SMS. Details: Automatic notifications and SMS fallback.
The connection page
Open Settings → Customer messaging → WhatsApp. The Connection tab opens first.
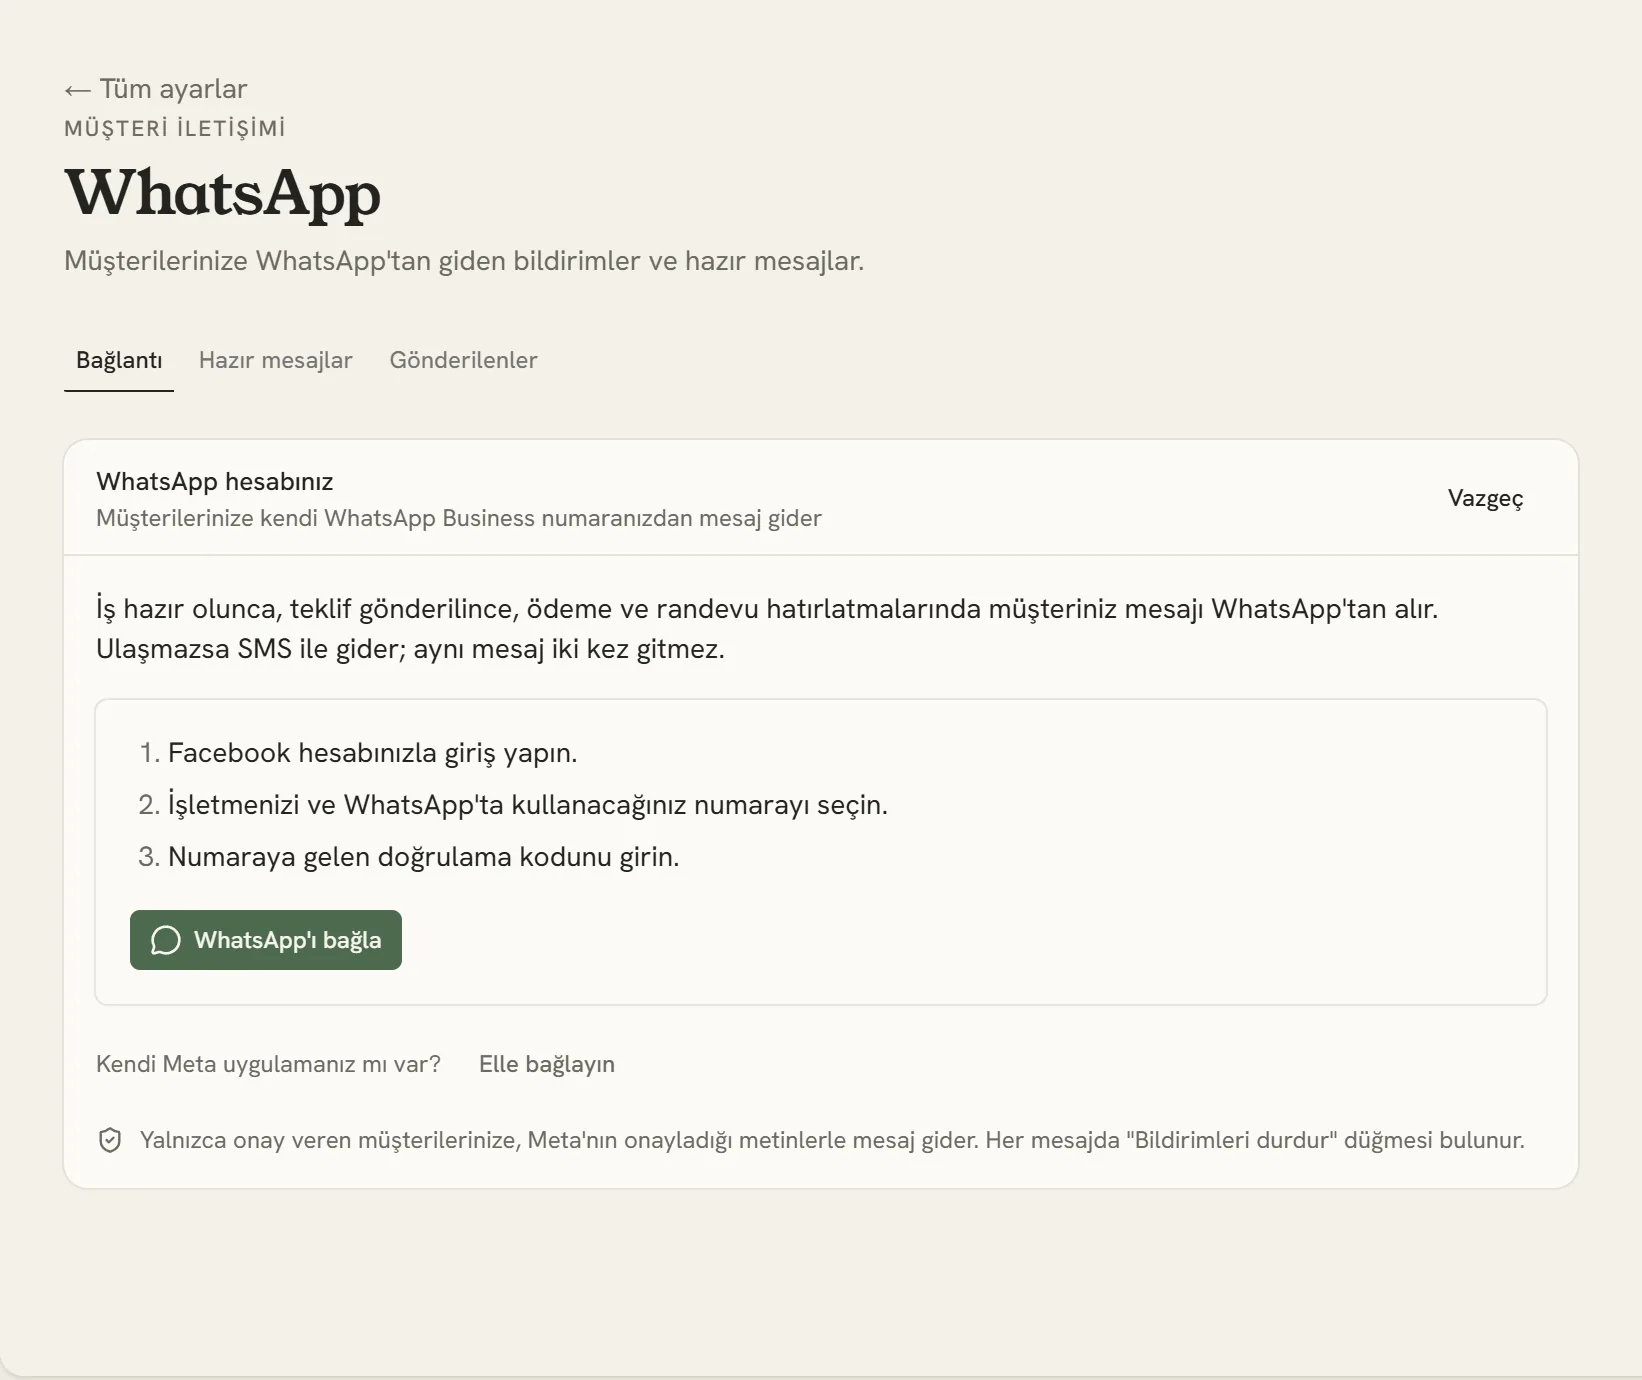
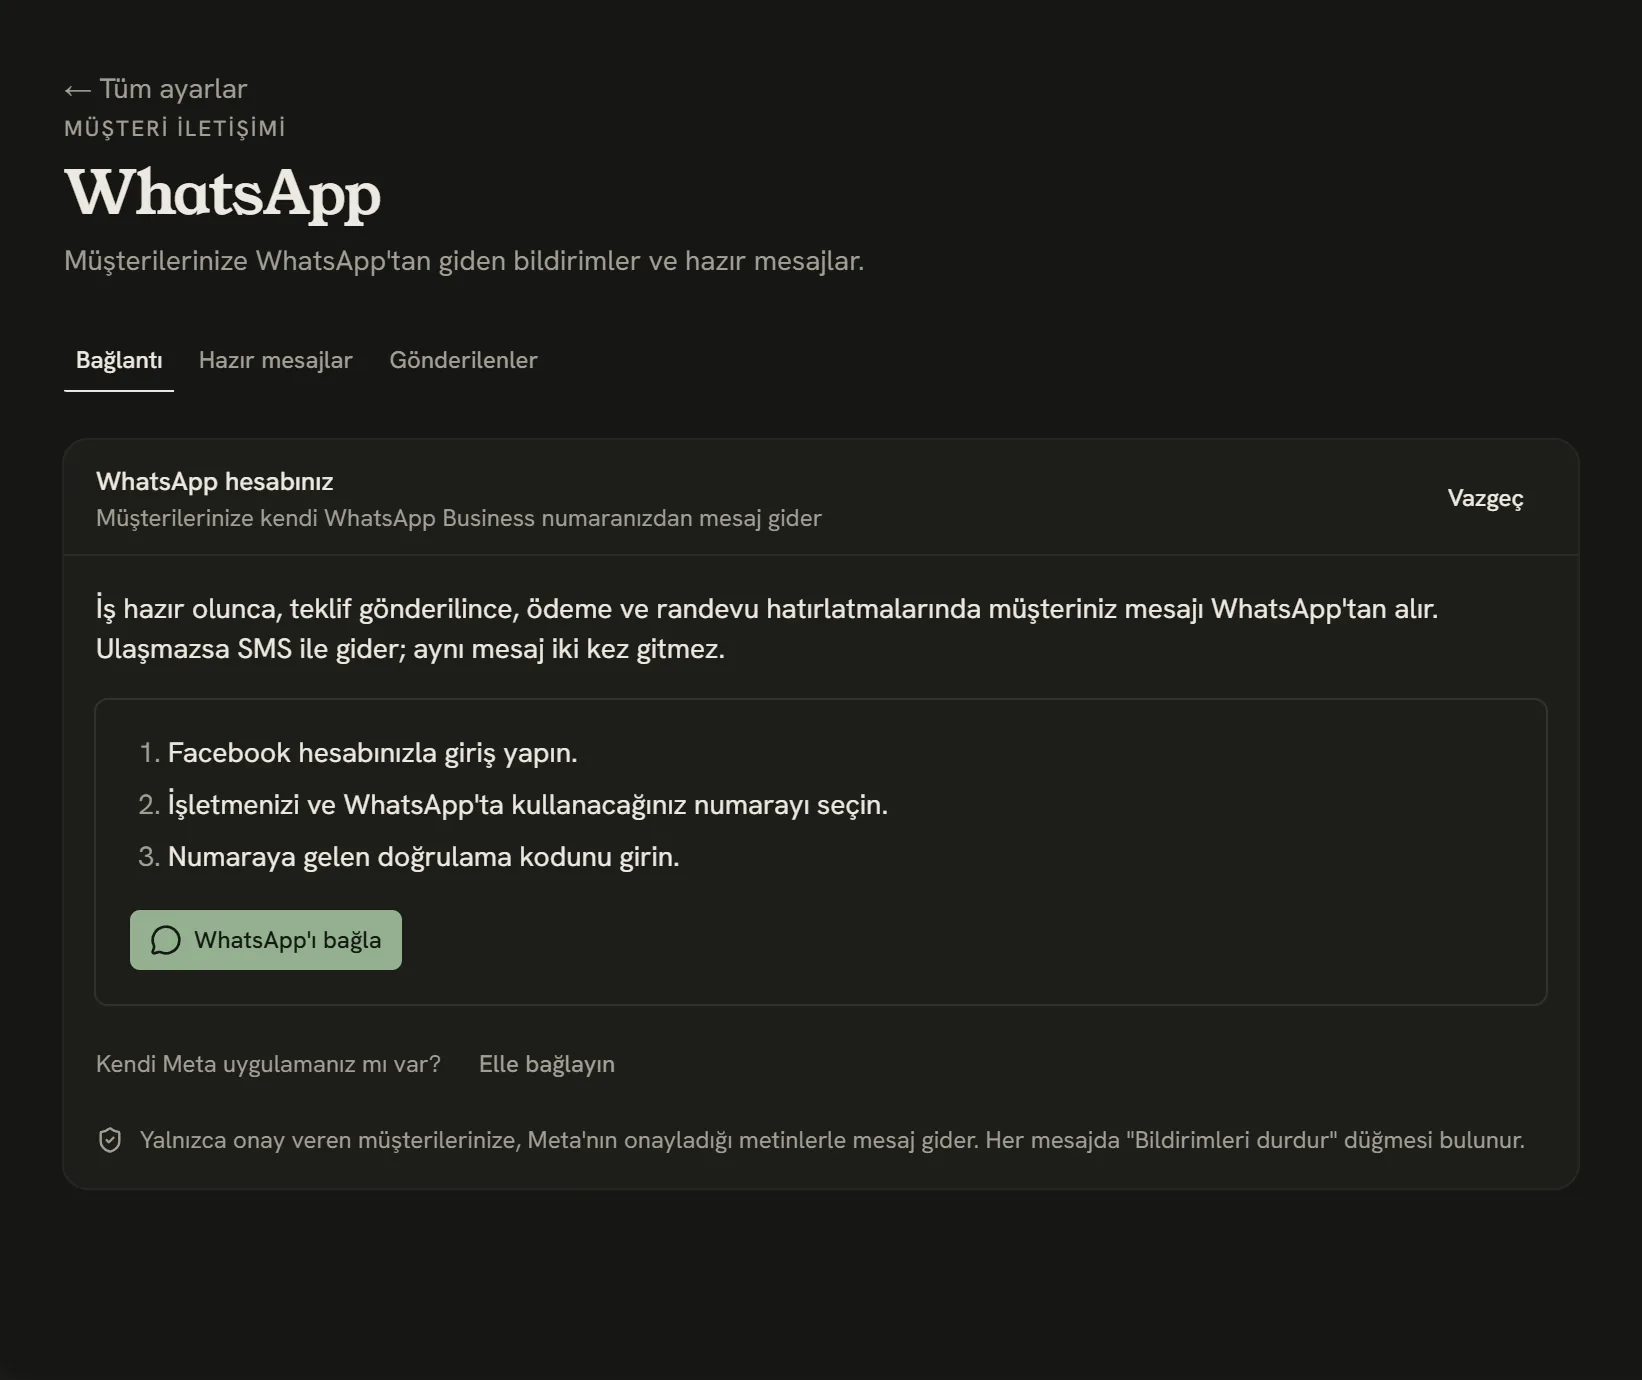
- Where you connect your number.
- To connect manually with your own Meta app.
Once one-click connection is available, a Connect WhatsApp button appears on this card: you sign in with your Facebook account, choose your number and enter the verification code you receive. Until then, connect manually as described below.
Connecting manually
You paste a few details from Meta into İşlemde. You only do it once.
- In your Meta app, open WhatsApp → API Setup. The Phone number ID and WhatsApp Business Account ID are shown here.
- In Business settings → System users, create a system user and assign your app and WhatsApp account to it. With Generate token, select the
whatsapp_business_messagingandwhatsapp_business_managementpermissions and set the expiry to Never. The long text you get is the permanent access token. - Copy the App secret from App settings → Basic.
- For the Webhook verify token, make up a text of at least 24 characters yourself and write it down somewhere.
- In İşlemde, tap Connect manually, fill in the five fields and tap Connect.
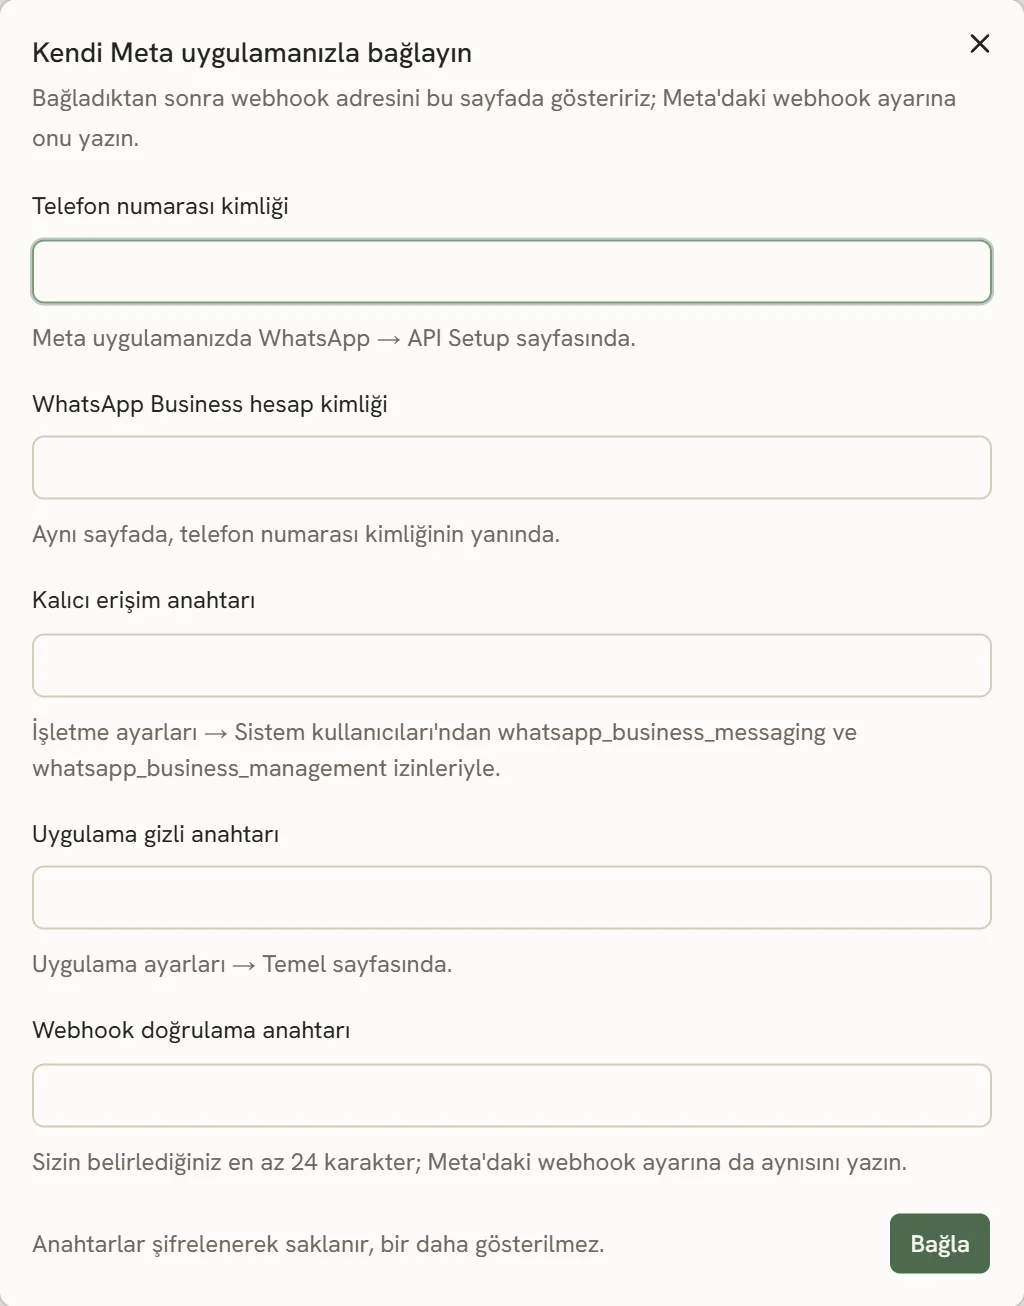
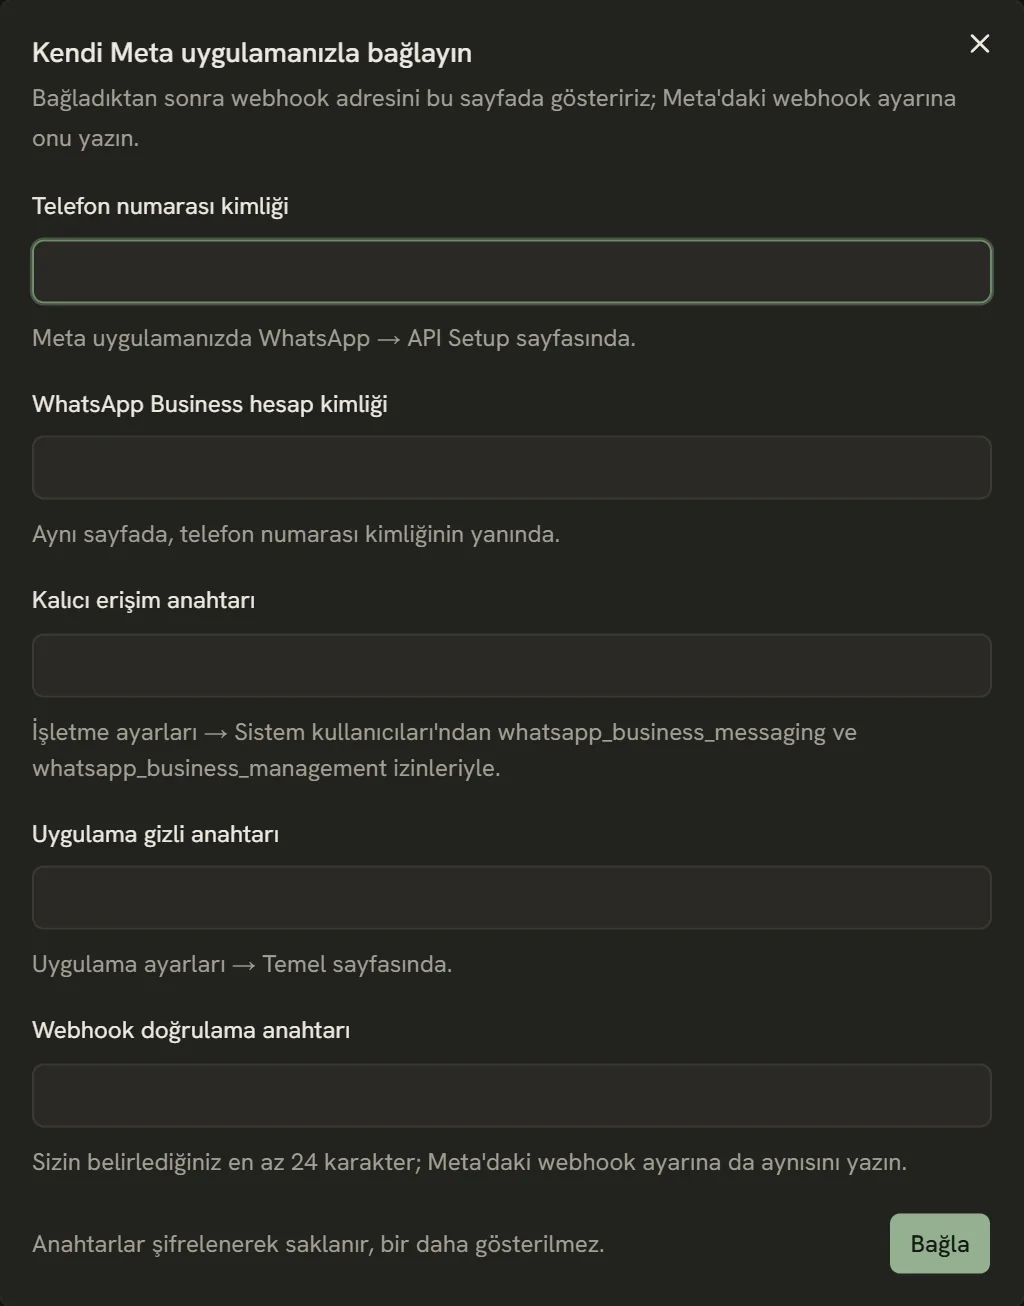
- Phone number ID (from the API Setup page).
- WhatsApp Business Account ID (from the same page).
- The system user's permanent token.
- App secret.
- The text of at least 24 characters you made up.
- Connects and sends the message texts to Meta for approval.
Tokens are stored encrypted and never shown again.
Don't use the temporary token on the API Setup page: it expires within a day. If Meta stops accepting the token, messages keep going out by SMS and you get a Your WhatsApp connection has expired notification. Enter the permanent token with Change number → Connect manually.
Adding the webhook address in Meta
After connecting, a Meta webhook address row appears on the Connected number card. Open it and tap the address to copy it. In your Meta app, on WhatsApp → Configuration:
- Paste this address into the Callback URL field.
- In the Verify token field, enter the text you made up in step 4, and save.
- In the Webhook fields list, subscribe to the
messagesandmessage_template_status_updatefields.
The webhook tells İşlemde whether a message reached the customer and whether Meta approved the texts. Without it, even when WhatsApp messages arrive, the customer also gets the same message by SMS half an hour later.
Meta's approval
The moment you connect, four message texts (job ready, quote, payment and appointment reminder) are sent to Meta for approval. Until they're approved, those notifications go by SMS; once approved, they switch to WhatsApp by themselves. You can see which notification goes out on which channel on the same page: Automatic notifications and SMS fallback.
The customer's consent
WhatsApp messages only go to customers who have given consent. You mark consent in two places:
- When opening a new job. In the customer step, if the customer's mobile number is saved, a Customer agreed to get updates on WhatsApp checkbox appears.
- On the customer page. The WhatsApp messages switch. Turn it on when the customer agrees at the counter or on the phone.
Every WhatsApp message has a Stop notifications button at the bottom. If the customer taps it, their consent is turned off and they won't get notifications on WhatsApp again; notifications continue by SMS.
Pausing or changing the number
If you turn off the switch on the Connected number card, notifications go by SMS only; your connection and settings are kept, and when you turn it back on it picks up where it left off. To switch to another number, tap Change number.
Stuck somewhere? Write to us from Support in the dashboard's left menu; we'll see which screen you're on.